If you’re new to peptides, learning how to inject them can easily feel like the most intimidating part of the process. But peptide injections are usually much simpler than people expect, especially when you’re using the subcutaneous method.
If you’re using BPC-157, Ipamorelin, CJC-1295, Semaglutide, or another peptide, the actual injection process is generally very similar. Once you understand the setup and technique, it quickly becomes routine.
Important: This article assumes your peptide has already been mixed or reconstituted. If your vial is still in powder form, make sure you complete the reconstitution process first before attempting an injection.
What Is a Subcutaneous Injection?
Most peptides are injected subcutaneously, often shortened to “SubQ.” That simply means the peptide is injected into the layer of fat just beneath the skin instead of deep into the muscle.
This is different from intramuscular (IM) injections, which are delivered directly into muscle tissue. For peptide use, subcutaneous injections are usually preferred because they’re easier to perform and generally more comfortable.
Why Subcutaneous Injections Are Common for Peptides
Easier to Learn
SubQ injections do not require deep needle placement, which makes the technique much more beginner-friendly.
Usually Less Painful
Because fatty tissue contains fewer nerve endings than muscle, discomfort is typically minimal.
More Flexible Injection Areas
You can rotate between several body areas without much difficulty.
Lower Risk of Injury
There’s less concern about striking nerves or blood vessels compared to deeper injections.
Slower Absorption
Subcutaneous injections release peptides more gradually, which can help maintain steadier absorption levels.
Some peptide protocols may occasionally use intramuscular injections instead, particularly when faster absorption is desired. Always follow the instructions associated with the specific peptide you’re using.
Peptides Commonly Injected Subcutaneously
The same general injection method is used across many popular peptides, including:
- Recovery and Repair Peptides: Compounds like BPC-157 and TB-500 are commonly associated with tissue-recovery protocols.
- Growth Hormone Secretagogues: Ipamorelin and CJC-1295 are frequently used together in growth hormone support stacks.
- GLP-1 and Weight-Management Peptides: Semaglutide and Tirzepatide are also administered via subcutaneous injection.
Even though the compounds themselves work differently, the injection steps are largely the same.
Supplies You’ll Need Before Injecting
Having everything prepared beforehand makes the process cleaner, faster, and less stressful. You’ll typically need:
Insulin syringes
Alcohol prep pads
Your peptide vial
A sharps container
A clean workspace
Most people use insulin syringes with:
- 29–31 gauge needles
- ½-inch needle length
- 0.5–1 mL syringe size
These smaller needles are designed specifically for subcutaneous injections and are usually very comfortable to use.
Why Insulin Syringes Are Preferred
Insulin syringes work especially well for peptides because they’re built for precise, low-volume injections.
Benefits include:
✓ Very thin needles
✓ Accurate measurement markings
✓ Attached needle design for better sterility
✓ Widely available and affordable
Best Areas to Inject Peptides
There are a few common places where subcutaneous injections are typically performed.
Upper Thigh
The outer or front portion of the thigh works well and is easy to access while seated.
Abdomen
The stomach area is the most popular option because it’s easy to reach and has a reliable fat layer. Try to stay at least 2 inches away from the belly button itself.
Back of the Upper Arm
Some people prefer this area, although it can be harder to reach on your own.
Why the Abdomen Is the Most Common Choice
Many people prefer abdominal injections because:
- There’s a larger surface area to rotate through
- The fat layer tends to be more consistent
- It’s easier to see exactly where you’re injecting
- Absorption is generally predictable
A simple approach is to rotate through different sections of the abdomen rather than repeatedly using the same exact spot.
Areas You Should Avoid
Healthy, clean skin is always the goal. Never inject into skin that is:
- Bruised
- Swollen
- Irritated
- Scarred
- Infected
- Extremely close to the navel
- Covered with visible veins
Why Rotating Injection Sites Matter
Using the same injection location repeatedly can eventually irritate the tissue underneath the skin. Over time, this may lead to hardened or lumpy areas called lipohypertrophy. Besides being uncomfortable, these areas can also interfere with proper absorption. A simple rotation schedule helps prevent this issue.
For example:
- Right upper abdomen
- Right lower abdomen
- Left lower abdomen
- Left upper abdomen
Step-by-Step: How to Inject Peptides
1. Wash Your Hands and Prepare Your Area
Start by washing your hands thoroughly with soap and warm water. Next, clean your workspace and gather all supplies before opening anything. This helps reduce contamination and makes the process smoother overall.
2. Prepare the Peptide Vial
Take the peptide out of the refrigerator and allow it to sit briefly so it’s not extremely cold. Cold injections can sometimes sting more. Use an alcohol swab to clean the rubber stopper on top of the vial, then allow it to air-dry completely.
3. Fill the Syringe
Carefully remove the syringe from its packaging. Pull back the plunger to draw in air equal to your intended dose. Injecting this air into the vial helps balance internal pressure and makes drawing easier.
Then:
- Turn the vial upside down
- Slowly pull the plunger back
- Draw slightly beyond your target amount
- Tap out air bubbles
- Push the plunger gently until the exact dose remains
Take your time here. Accuracy matters.
4. Clean the Injection Site
Use a fresh alcohol pad to clean the skin where you plan to inject. Wipe outward in a circular motion and allow the area to dry completely before injecting. A lot of unnecessary stinging comes from injecting before the alcohol evaporates.
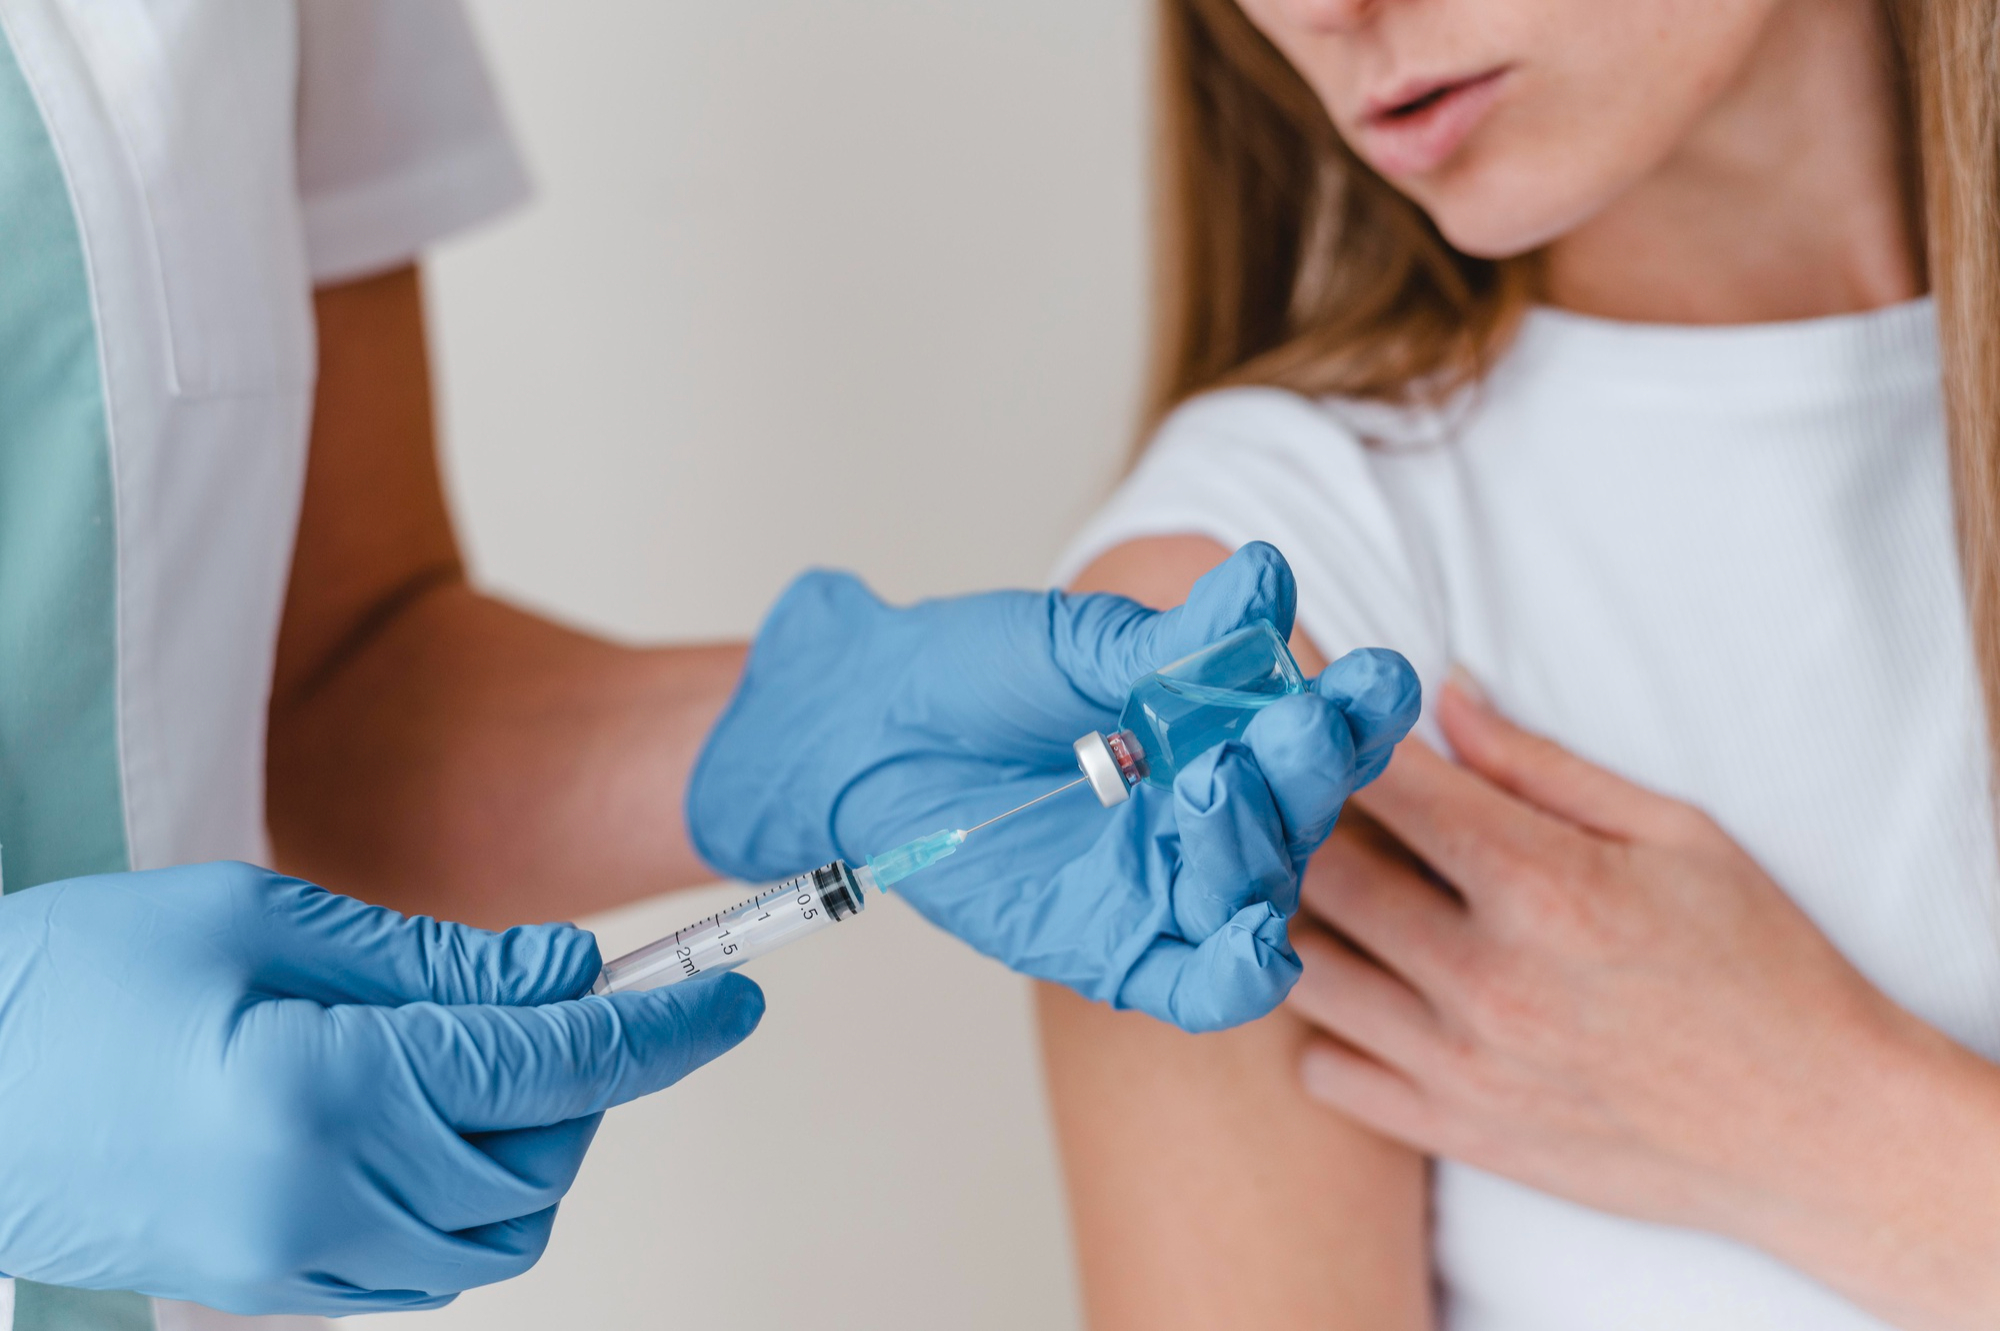
5. Insert the Needle
Gently pinch the skin between your fingers to lift the fatty layer away from the muscle underneath. Hold the syringe like a pen or pencil.
Insert the needle smoothly in one controlled motion.
- 45° angle if you’re very lean
- 90° angle if you have more subcutaneous fat
Once the needle is in place, release the pinch.
6. Inject Slowly
Press the plunger down gradually instead of forcing the peptide in quickly. A slower injection usually feels more comfortable and reduces pressure under the skin. After the syringe is empty, wait a few seconds before removing the needle. This helps prevent leakage.
7. Remove the Needle and Dispose of It Properly
Pull the needle out at the same angle it entered. If you notice a drop of blood, lightly press the area with clean gauze or cotton for several seconds. Avoid rubbing the skin aggressively afterward. Place the used syringe directly into a sharps container immediately after use.
Important: Never reuse needles.
Tips to Make Injections More Comfortable
Most peptide injections become very manageable with practice. Small adjustments can make a big difference.
|
Let the Peptide Warm Slightly Always Use a Fresh Syringe |
Very cold peptide solutions tend to sting more. |
|
Always Use a Fresh Syringe |
Even a single reuse can significantly dull the needle. |
|
Don’t Rush the Injection |
Slow and steady usually feels better than forcing the plunger down quickly. |
|
Relax the Area |
Tense muscles can make injections feel more uncomfortable than they need to. |
|
Try Ice if You’re Sensitive |
A short application of ice beforehand may help numb the area slightly. |
Common Injection Problems and What Causes Them
- Mild Bruising: Usually caused by hitting a tiny blood vessel. This is common and generally harmless.
- Burning or Stinging: Often linked to a cold peptide solution or alcohol that hasn’t dried yet.
- Small Bumps Under the Skin: Can occur if injections are too shallow or are repeated in the same area.
- Minor Bleeding: A small drop of blood after the needle is removed is usually normal.
- Leakage After Injection: This can happen if the needle is removed too quickly after injecting. Waiting a few seconds before withdrawal often helps.
Injection Safety Matters
Clean technique is extremely important with any injectable compound. Even experienced users should stay consistent with hygiene practices every single time.
Basic Safety Rules
- Never share needles or syringes
- Never reuse needles
- Never inject through damaged skin
- Keep peptides refrigerated if required
- Dispose of sharps safely
Proper Needle Disposal
Used syringes should always go into a sharps container or another approved heavy-duty plastic container.
Never:
- Throw loose needles into the household trash
- Leave used syringes exposed
- Flush needles down the toilet
Once the container becomes ¾ full, follow local disposal regulations for biohazard waste. Many pharmacies also offer sharps disposal programs.
When to Seek Medical Attention
Pay attention to how your body responds and never ignore severe or unusual symptoms. While peptide injections are straightforward, you should contact a healthcare provider if you notice:
- Increasing redness or swelling
- Warmth or pus at the injection site
- Fever after injecting
- Severe allergic reactions
- Facial swelling
- Difficulty breathing
- Persistent painful lumps
Do Peptide Injections at Home Safely and Correctly
The first peptide injection is usually the hardest mentally. After a few times, the process becomes very routine. The most important things are clean technique, proper site rotation, accurate dosing, and slow, controlled injections. Once those habits are in place, subcutaneous peptide injections are generally straightforward, safe, and manageable for most people.
Frequently Asked Questions
Do peptide injections hurt more than vaccines or regular shots?
No. Most people are surprised by how mild peptide injections feel compared to vaccines or intramuscular injections. Subcutaneous peptide injections use very small insulin needles, usually 29–31 gauge, which are much thinner than many standard medical needles. In most cases, the sensation feels more like a slight pressure or a quick pinch rather than a painful injection.
Can you inject peptides immediately after taking them out of the refrigerator?
You can, but many people prefer to let the vial sit for a few minutes first. Very cold peptide solutions may sting slightly more during injection. Allowing the peptide to warm closer to room temperature can make the process noticeably more comfortable without affecting the injection itself.
Why is there sometimes a tiny bubble in the syringe?
A very small air bubble in a subcutaneous peptide injection is generally not dangerous, unlike with intravenous injections. However, it’s still best practice to remove visible air bubbles when possible, as they can slightly reduce dosing accuracy and may cause minor discomfort during injection.